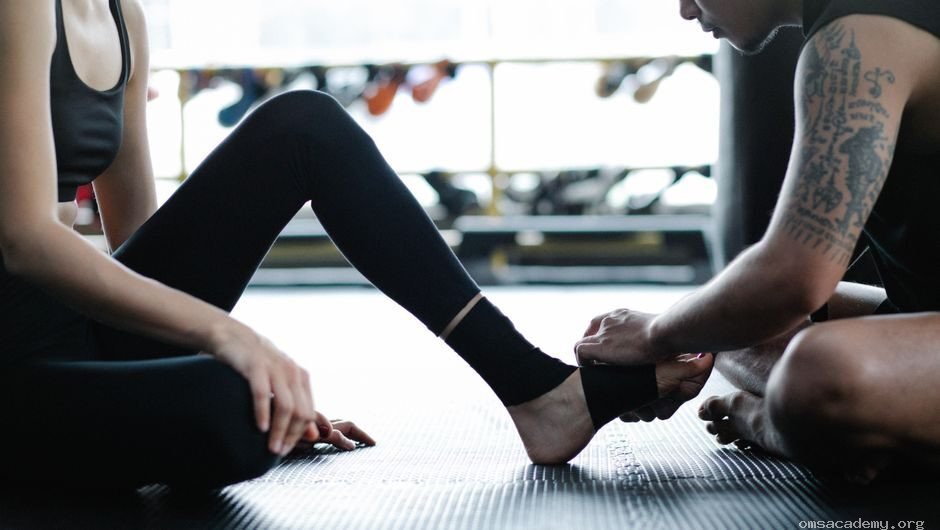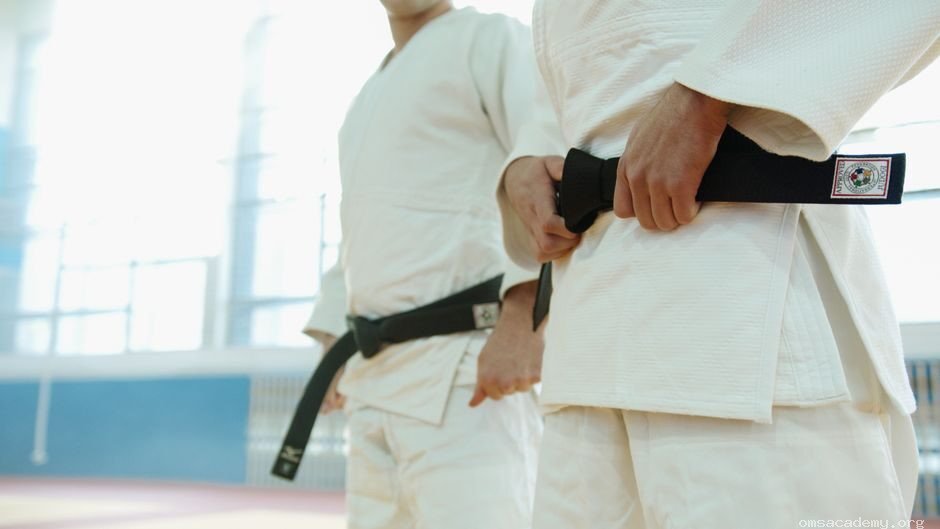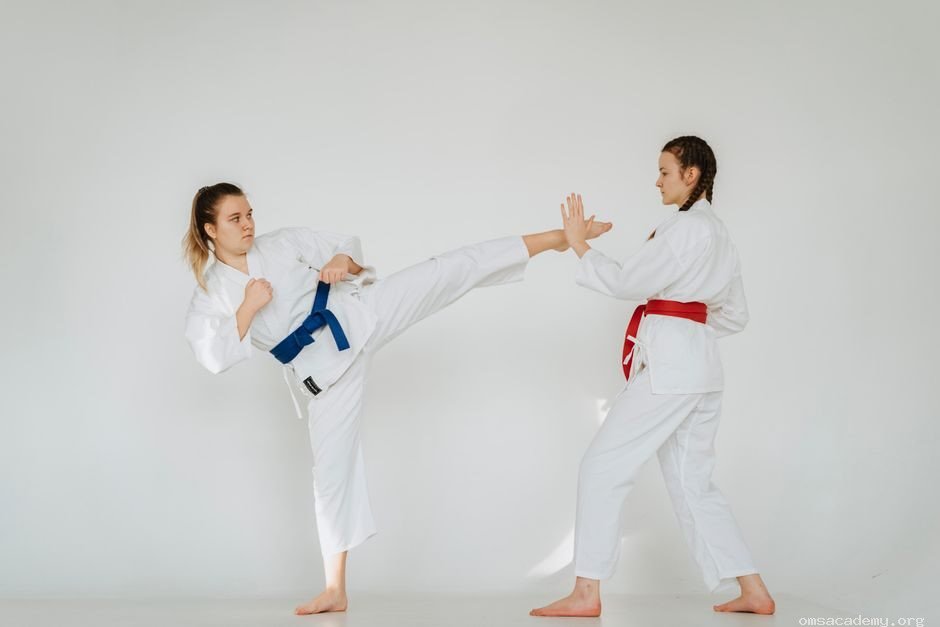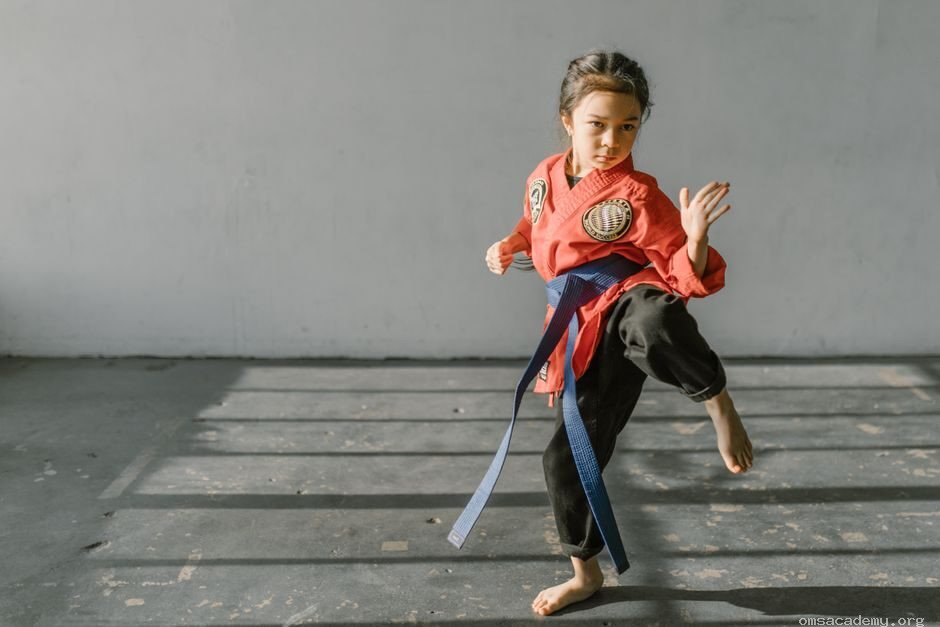

Taekwondo blocks, or Makgi, serve as the foundation for forms, counter-attacks, and body mechanics. Students learn specific techniques at every belt level, starting with foundational low and middle blocks. Success depends on universal principles like chambering, hip rotation, and stable stances to ensure effective defense and power generation.
Training involves step-by-step execution across belt levels, from white to red. Practical application includes protecting against various strikes while creating openings for counters. Mastery requires consistent drilling, mirror practice, and partner work to refine timing and accuracy for poomsae, sparring, and self-defense scenarios.
Why Blocks Matter
In Taekwondo, blocks (막기 – Makgi) are not merely defensive. They are:
- The foundation of poomsae – Every form begins and transitions through blocks
- The gateway to counter-attacks – A well-executed block creates the opening for a punch or kick
- A training tool for body mechanics – Blocks teach hip rotation, chambering, and power generation
- A belt examination requirement – Every geup test includes specific blocks
At Om’s Martial Arts & Fitness Studio, blocks are drilled in every class from white belt onward. They are the first techniques you learn, and they remain part of your training through black belt.
This guide covers every standard Taekwondo block with step-by-step execution, common mistakes, and practical applications.
[↑ Back to: The Complete Guide to Taekwondo]
The Universal Block Principles
Before individual blocks, understand these principles that apply to all Taekwondo blocks:
| Principle | Description |
|---|---|
| Chamber | Every block starts from a chambered position. The arm loads before it moves. |
| Hip rotation | Power comes from the hip turn, not just the arm. The hip and block arrive simultaneously. |
| Exhale / Kihap | Breathe out sharply on the block. Tension at impact. |
| Opposite hand reaction | The non-blocking hand pulls to the hip (reaction hand). This generates rotational force. |
| Correct angle | Each block has a specific angle of deflection. Too flat = no deflection. Too steep = no power. |
| Stance stability | Blocks are executed from a stable stance. If your base is weak, your block is weak. |
White Belt Blocks
1. Low Block (아래막기 – Arae Makgi)
The first block every student learns. It defends against attacks to the lower body (kicks, punches to the stomach/groin).
Belt level: White (10th Geup)
Stance: Walking stance (Ap Seogi) or Front stance (Ap Kubi)
Step-by-Step:
- Chamber: Raise the blocking arm’s fist to the opposite shoulder, palm facing inward. The forearm crosses the body diagonally.
- Execute: Drive the forearm downward and outward across the body, finishing approximately one fist-width above the front thigh. The forearm is angled slightly downward (about 30°).
- Reaction hand: The opposite hand pulls sharply to the hip (palm up → fist).
- Finish: Blocking arm is extended, fist rotated so the palm faces downward. Wrist straight.
Common Mistakes:
| Mistake | Correction |
|---|---|
| Blocking too low (arm against the thigh) | Finish one fist-width above the thigh. There should be a gap. |
| No hip rotation | Rotate the hip into the block. The hip and arm arrive together. |
| Wrist bent | Keep the wrist straight and locked. A bent wrist absorbs the impact. |
| Elbow locked straight | Slight bend in the elbow. A locked elbow can hyperextend. |
| Reaction hand forgotten | Pull the opposite hand to the hip simultaneously. |
Application: Defends against a front kick or low punch. After the block, counter with a reverse punch (Bandae Jireugi).
2. Middle Block / Inner Block (몸통안막기 – Momtong An Makgi)
Defends against attacks to the torso (midsection). One of the most frequently used blocks in poomsae and sparring.
Belt level: White-Yellow (10th-8th Geup)
Stance: Walking stance or Front stance
Step-by-Step:
- Chamber: Place the blocking fist at the opposite shoulder, palm facing inward. Elbow bent at approximately 90°.
- Execute: Drive the forearm across the body from outside to inside, finishing with the fist at the centerline of the chest, approximately one fist-width from the body. Forearm vertical.
- Reaction hand: Opposite hand pulls to the hip.
- Finish: Blocking forearm is vertical, fist at chest height, palm facing inward.
Common Mistakes:
| Mistake | Correction |
|---|---|
| Blocking too wide (arm extends past the shoulder) | Finish at the centerline. The block covers the torso, not the air beside you. |
| Forearm angled (not vertical) | The forearm should be perpendicular to the floor. |
| Shoulder raised | Keep the shoulder down and relaxed. Tension in the shoulder slows the block. |
| No hip rotation | Rotate the hip into the block. |
Application: Defends against a straight punch to the midsection. Counter with a reverse punch or roundhouse kick.
Yellow Belt Blocks
3. High Block / Rising Block (얼굴막기 – Olgul Makgi)
Defends against attacks to the head. The forearm rises above the forehead to deflect downward or straight attacks.
Belt level: Yellow (8th Geup)
Stance: Walking stance or Front stance
Step-by-Step:
- Chamber: Place the blocking fist at the opposite hip, palm facing upward.
- Execute: Drive the forearm upward and across the body, finishing above the forehead with the forearm angled at approximately 45°. The fist is approximately one fist-width above the eyebrow.
- Reaction hand: Opposite hand pulls to the hip.
- Finish: Forearm angled upward, fist rotated so the palm faces outward. Wrist straight.
Common Mistakes:
| Mistake | Correction |
|---|---|
| Block too close to the face | Keep one fist-width between the forearm and the forehead. |
| Forearm horizontal (flat) | Angle it at 45° so attacks slide off. |
| Blocking with the wrist (not forearm) | The outer forearm is the blocking surface. |
| Elbow too far out | Keep the elbow slightly inward. The forearm covers the centerline. |
Application: Defends against an axe kick, overhead strike, or high punch. Counter with a front kick or reverse punch.
4. Knife-Hand Block (손날막기 – Sonnal Makgi)
Uses the blade of the hand (sonnal) instead of a fist. A versatile block that can also function as a strike.
Belt level: Yellow-Green (8th-6th Geup)
Stance: Back stance (Dwit Kubi) typically
Step-by-Step:
- Chamber: Extend the blocking hand to the opposite shoulder, palm facing inward, fingers together and extended.
- Execute: Drive the hand across the body from outside to inside, finishing at the centerline of the chest. The blade of the hand (pinky-side edge) faces outward.
- Reaction hand: Opposite hand extends forward (palm up) then pulls to the hip.
- Finish: Blocking hand at chest height, arm slightly bent, blade facing the opponent.
Common Mistakes:
| Mistake | Correction |
|---|---|
| Fingers spread apart | Keep fingers together and straight. A spread hand is weak and injury-prone. |
| Wrist bent | Lock the wrist. The hand and forearm form a single unit. |
| Blocking with the palm (not blade) | The pinky-side edge is the blocking/striking surface. |
Application: Defends against a straight punch. The knife-hand can immediately transition into a knife-hand strike (Sonnal Chigi) to the neck or collarbone.
Green Belt Blocks
5. Double Forearm Block (쌍팔막기 – Ssang Pal Makgi)
Uses both forearms simultaneously to create a strong defensive barrier against the midsection.
Belt level: Green (6th Geup)
Stance: Front stance (Ap Kubi)
Step-by-Step:
- Chamber: Both fists chamber at the opposite hips.
- Execute: Drive both forearms forward and outward simultaneously, finishing in a V-shape in front of the torso. Forearms are angled at approximately 45° from the body.
- Finish: Both forearms form a protective frame. Fists at shoulder height. Elbows slightly bent.
Application: Defends against a powerful frontal attack. Creates space for a counter-kick.
6. Palm Block (바탕손막기 – Batangson Makgi)
Uses the heel of the palm instead of a fist. Common in self-defence applications and advanced poomsae.
Belt level: Green-Blue (6th-4th Geup)
Stance: Various
Step-by-Step:
- Chamber: Place the blocking hand at the opposite shoulder, fingers pointing up, palm facing outward.
- Execute: Drive the palm forward and across the body, finishing at chest height. The heel of the palm faces the opponent.
- Finish: Fingers pointing upward, wrist locked, palm heel forward.
Application: Defends against a punch. The palm heel can immediately push or strike the opponent’s chin or chest.
Blue Belt Blocks
7. X-Block / Scissor Block (가위막기 – Gawi Makgi)
Both arms cross in an X-shape to defend against a downward attack (axe kick, overhead strike).
Belt level: Blue (4th Geup)
Stance: Front stance or Horse riding stance
Step-by-Step:
- Chamber: Both fists chamber at the opposite hips.
- Execute: Drive both forearms upward, crossing them in an X-shape above the head. Wrists cross. Fists face outward.
- Finish: The X is formed approximately one fist-width above the forehead. Forearms angled to deflect the attack outward.
Application: Defends against an axe kick or overhead strike. After the block, grab the attacker’s leg (in self-defence context) or counter with a kick.
8. Wedge Block / Mountain Block (산막기 – San Makgi)
Both forearms form a wedge/mountain shape to defend against a frontal attack.
Belt level: Blue (4th Geup)
Stance: Front stance
Step-by-Step:
- Chamber: Both fists at opposite hips.
- Execute: Drive one forearm upward (like a high block) and the other downward (like a low block) simultaneously.
- Finish: One arm high (above forehead), one arm low (above thigh). Together they form a diagonal line.
Application: Defends against simultaneous high and low attacks, or redirects a single attack with the upper arm while the lower arm guards.
Red Belt Blocks
9. Hooking Block (걸어막기 – Georeo Makgi)
A circular block that hooks and redirects the opponent’s attacking limb.
Belt level: Red (2nd Geup)
Step-by-Step:
- Chamber: Fist at the opposite hip.
- Execute: Sweep the forearm in a circular, hooking motion from outside to inside, catching and redirecting the attack.
- Finish: The forearm hooks across the body, controlling the opponent’s limb.
Application: Redirects a punch or kick, creating an opening for a counter-attack or grab.
10. Heel Palm Block / Pushing Block (밀어막기 – Mireo Makgi)
A forward push using the heel of the palm, creating distance.
Belt level: Red (2nd Geup)
Step-by-Step:
- Chamber: Hand at the opposite shoulder, palm facing forward.
- Execute: Drive the palm straight forward, extending the arm fully.
- Finish: Arm extended, palm heel forward, fingers up.
Application: Creates distance. Pushes the opponent back. Useful in self-defence to create an escape window.
Block Progression by Belt – Summary
| Belt | Blocks Learned |
|---|---|
| ⬜ White | Low Block (Arae Makgi), Middle Block (Momtong An Makgi) |
| 🟡 Yellow | High Block (Olgul Makgi), Knife-Hand Block (Sonnal Makgi) |
| 🟢 Green | Double Forearm Block (Ssang Pal Makgi), Palm Block (Batangson Makgi) |
| 🔵 Blue | X-Block (Gawi Makgi), Wedge Block (San Makgi) |
| 🔴 Red | Hooking Block (Georeo Makgi), Pushing Block (Mireo Makgi) |
| ⬛ Black | All blocks + combinations + applications in sparring and self-defence |
Training Tips for Blocks
1. Drill in Front of a Mirror
Watch your angles, hip rotation, and reaction hand. Self-correction is powerful.
2. Practice Slow, Then Fast
5 slow reps → 5 medium reps → 5 fast reps. Speed without form is useless.
3. Add the Counter
Every block should be followed by a counter. Block → punch. Block → kick. Drill the combination, not the isolation.
4. Use a Partner
Have a partner throw slow, controlled attacks. Block in real-time. This builds reaction speed and timing.
5. Include Blocks in Poomsae Practice
Every Taegeuk poomsae contains multiple blocks. Practicing poomsae is practicing blocks in context.
6. Strengthen the Forearms
Wrist curls, reverse curls, and grip work make your blocks more solid and reduce injury risk.
[→ Related: Complete Taegeuk Poomsae Guide – All 8 Forms]
[→ Related: Taekwondo Sparring – How Blocks Create Counter-Attack Opportunities]
Frequently Asked Questions
Q: Are blocks actually used in sparring?
A: In modern WT sparring, evasion and footwork are often preferred over hard blocks (because of the speed of kicks and electronic scoring). However, blocks are still used for punch defense, close-range defense, and in poomsae/self-defence contexts. At Om’s, we train blocks for both sport and practical application.
Q: Why do we practice blocks so much if sparring uses evasion?
A: Blocks teach body mechanics, hip rotation, chambering, and reaction timing — all of which transfer to sparring. They are also required in every belt examination and poomsae. The block is the foundation; evasion is the evolution.
Q: Can a block break an arm?
A: A properly executed block against a full-power attack can cause injury to the attacker’s limb. However, in training and sparring, control is always maintained. Blocks are practiced with progressive intensity under coach supervision.
Q: How many blocks are there in Taekwondo?
A: The standard curriculum includes approximately 10-15 primary blocks, with variations and advanced applications bringing the total higher. At Om’s, students learn 10 core blocks from white to red belt, with advanced applications at black belt.
[→ Full FAQ: 500+ Taekwondo Questions Answered]
Master Your Blocks at Om’s
Blocks are the alphabet of Taekwondo. You cannot write sentences (combinations) or stories (sparring) without knowing the letters.
At Om’s Martial Arts & Fitness Studio, blocks are drilled in every class, tested at every belt promotion, and applied in poomsae, sparring, and self-defence scenarios.
[→ Book Your Free Trial Class at Om’s Martial Arts & Fitness Studio]
[→ Read the Complete Guide to Taekwondo]
[→ Next: Complete Taegeuk Poomsae Guide – All 8 Forms]
Om’s Martial Arts & Fitness Studio – Block. Counter. Repeat. Discipline in every movement.